Okay, here’s a general wetsuit size chart and selection guide for you.
The fit of a wetsuit is crucial. Too tight, and it will restrict blood circulation, causing fatigue and difficulty breathing; too loose, and cold water will keep seeping in, compromising its insulating properties.
Key principle: First, check your height + weight range, then refer to the specific brand’s size chart.
——
Step 1: General Size Chart (Based on Height/Weight)
You can use the table below to find your approximate size range:
Size (International) Corresponding Height (cm) Corresponding Weight (kg) Notes
XS 155 – 165 45 – 55 Petite
S 160 – 170 50 – 60 Women’s Regular Size
M 165 – 175 60 – 70 Men’s Smaller/Women’s Larger
L 170 – 180 70 – 85 Men’s Regular Size
XL 175 – 185 80 – 95 Taller
XXL 180 – 190+ 90 – 105+ Very Tall or Sturdy
Note: This chart is for general reference only. Size standards vary greatly between different brands (especially those from different countries).
——
Step 2: How to Measure and Choose Correctly?
1. Accurate Measurements:
◦ Height: Measure standing barefoot against a wall.
◦ Weight: Net weight.
◦ Chest: Measure horizontally at the fullest part of the chest.
◦ Waist: Measure at the narrowest part of the waist.
◦ Hips: Measure at the fullest part of the hips.
2. Consult the Brand’s Official Size Chart:
◦ You must go to the official website or product page of the brand you wish to purchase from (such as Scubapro, Cressi, TUSA, Aqualung, etc.) to find their accurate size chart.
◦ Compare your actual measurements with the dimensions in the brand’s size chart and choose the size that best matches all dimensions. Prioritize chest and height.
3. Consider Body Shape:
◦ If you have broad shoulders and well-developed chest muscles: You may need to choose one size larger, or choose the brand’s “high-elasticity” or “comfort” version.
◦ If you are slim: You may need to choose one size smaller to ensure a snug fit.
——
Step 3: Size Differences for Wetsuits of Different Thicknesses
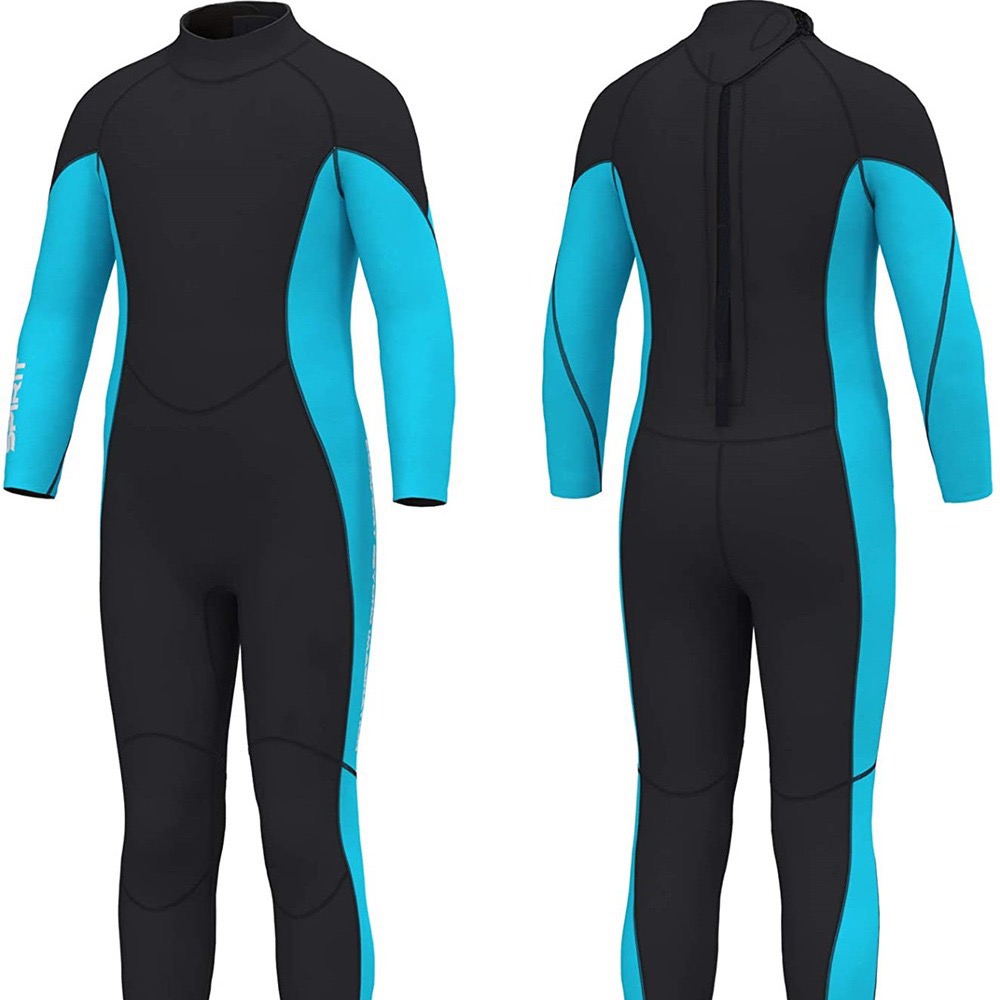
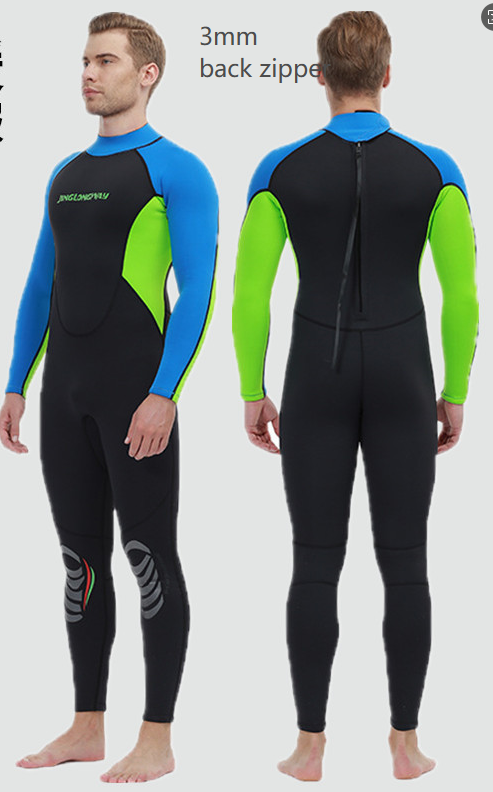
• 3mm and below: Thinner fabric, more elastic, relatively standard sizing, choose your usual size.
• 5mm and above: Thicker fabric, less elastic. If you are near the edge of your usual size, it is recommended to choose one size larger, otherwise it will be very difficult to put on and take off, and you will feel extremely restricted on land.
——
Step 4: Key Points for Trying On
Be sure to try on the wetsuit before purchasing and check the following:
1. Difficulty of putting on and taking off: Wetsuits are inherently somewhat difficult to put on and take off, but it should not be to the point that you cannot do it yourself. You can use plastic bags to help cover your hands and feet.
2. Fit: It should fit snugly against your body like a “second skin,” especially around the neck, wrists, and ankles, with no obvious gaps.
3. Range of motion: Try doing chest expansion, arm raising, squatting, etc. There should be no excessive pressure or difficulty breathing, but there should be no large air pockets under the armpits or on the back.
4. Comfort: Stand still for a few minutes in the store and check for any areas of particular tightness or numbness.
——
Common Brand Sizing Characteristics (For reference only, please refer to the latest official size chart)
• European and American brands (e.g., Scubapro, Aqualung): Sizes are usually larger than Asian brands. Asians may need to choose one size smaller.
• Japanese brands (e.g., TUSA, GULL): Sizes are closer to Asian body shapes and are relatively standard.
• Korean/Southeast Asian brands: Sizes are usually smaller; you may need to choose one size larger.
Finally, and most reliably:
Never judge a wetsuit based solely on your everyday clothing size!
Use your body measurements to match the specific size chart on your desired brand’s official website, and try it on in person whenever possible. This is the only way to find a properly fitting wetsuit.

Leave A Comment