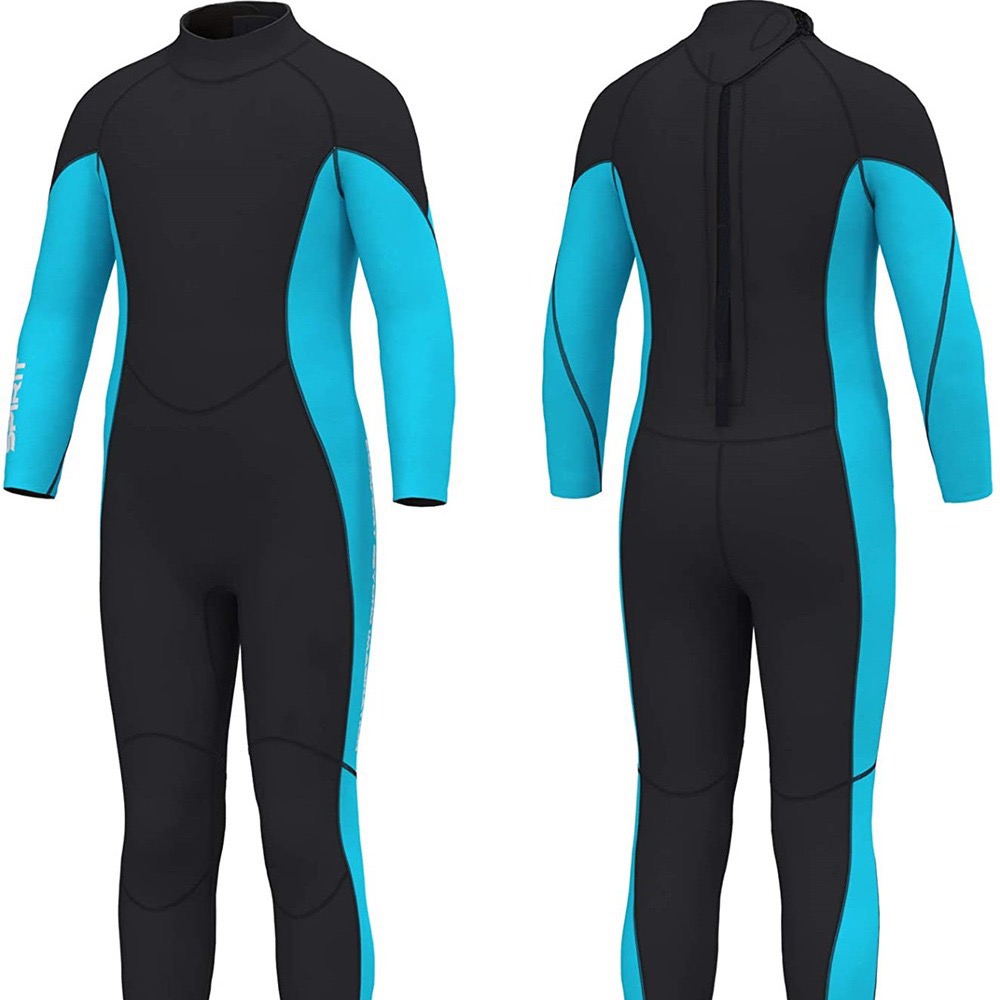
A stuck or broken wetsuit zipper is a common problem, and improper handling can damage your expensive wetsuit. Please calmly handle the situation according to the following steps:
I. Zipper Stuck (Can’t Pull) – Prioritize Non-Destructive Repair
Core Principle: Never use brute force to pull! This will completely damage the zipper teeth or the zipper pull, and may even tear the surrounding neoprene rubber.
Step 1: Initial Cleaning and Lubrication
• Rinsing: Rinse the stuck zipper area with warm water (not hot water) to wash away any sand, salt crystals, or hair that may be stuck.
• Lubrication:
◦ Use a wax-based lubricant (such as paraffin wax, candle wax, or special zipper wax) or a silicone-based lubricant (such as silicone oil for diving equipment).
◦ Apply the lubricant to both sides of the zipper teeth and the inside of the zipper pull.
◦ Avoid using oil-based lubricants (such as WD-40 or cooking oil), as they will attract dust, damage neoprene rubber, and are difficult to clean.
Step 2: Gentle Operation
• After applying lubricant, gently wiggle the zipper pull back and forth, and try pulling it very slowly and gently in the opposite direction (i.e., pull it back a little) to see if it releases the jam.
• At the same time, gently pinch the fabric on both sides of the zipper with your other hand to help align the zipper teeth.
Step 3: Removing Foreign Objects
• If visible sand or fabric fibers are stuck, carefully remove them with a toothpick, fine needle, or tweezers.
• If a small piece of neoprene is stuck, try gently prying it out with a fine tool.
Step 4: Using Pliers (Last Resort)
• If the above methods are ineffective, the zipper pull may be internally damaged and jammed.
• Gently clamp the metal plates on both sides of the zipper pull with small needle-nose pliers (do not clamp the zipper tab or zipper tape), and try applying very slight torque or pull to see if it moves.
• Risk Warning: This operation may permanently damage the zipper pull and should only be used as a last resort before replacing the zipper pull.
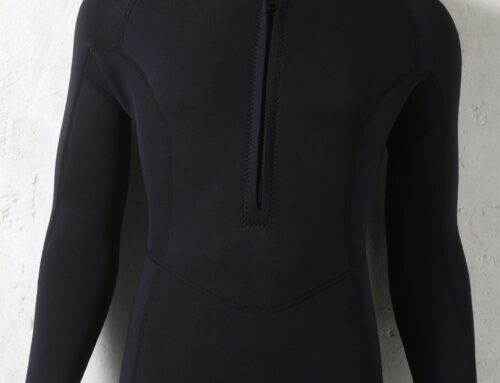
II. Zipper Damage (Broken Teeth, Broken Zipper Head, Torn Tape) – Consider Repair or Replacement
If the zipper is no longer working properly, assess the type of damage:
1. Damaged or Detached Zipper Head
• Symptoms: The zipper can be opened and closed, but the zipper head separates, falls off, or cannot be locked.
• Solution: This is the simplest repair. You can purchase a wetsuit-specific zipper head of the same size and type (usually YKK brand) and insert it through the bottom opening of the zipper for replacement. Detailed video tutorials are available online.
2. Missing or Deformed Zipper Teeth
• Symptoms: The zipper breaks at a certain point, or there are clearly visible missing or bent teeth.
• Solution:
◦ Small Areas of Damage: You can tightly sew a thread around the top and bottom of the damaged area to create an “artificial stop” to prevent the zipper head from slipping past the damaged area. However, this is only an emergency measure.
◦ Best Solution: Replace the entire zipper. This requires professional skills and a specialized sewing machine.
3. Zipper Tape Separating/Tearing from Wetsuit
• Symptoms: The zipper teeth and head are fine, but the neoprene or fabric securing the zipper has separated from the wetsuit body.
• Solutions:
◦ Cleaning: Thoroughly clean the separated tape and the adhesive surface of the wetsuit with anhydrous alcohol.
◦ Bonding: Apply a thin layer of neoprene adhesive (such as Aquaseal) to both sides and wait until it is “touch dry” (about 5-10 minutes, not sticky to the touch), then precisely align and bond.
◦ Applying Pressure: Apply even pressure with a weight or clamps and allow to cure for 24-48 hours.
◦ Reinforcing: For a stronger bond, reinforce the bonded edges with wetsuit-specific stitching thread or a cable tie sewing machine.
III. Professional Repair vs. DIY Solution Decision Guide
Situation | Recommendation | Cause Simple jamming, can be restored after cleaning and lubrication | DIY | Low cost, no risk.
Damaged/detached zipper pulls can be replaced yourself. The operation is simple, and parts are readily available (note the model compatibility).
Small areas of fabric tape coming unglued can be reinforced by gluing. Specialized glue is used, and the success rate is relatively high.
If the entire zipper teeth are damaged, a large area of fabric tape is torn, or it is located in a critical stress area (such as the long back zipper), it is strongly recommended to send it to a professional diving equipment repair shop. Specialized tools (heavy-duty sewing machine), a matching zipper, and professional skills are required. Self-repair has a high failure rate and may completely ruin the wetsuit.
If the wetsuit is valuable or used in cold water environments, it should be sent for repair first. Professional repair ensures watertightness and strength, which are crucial for safety and comfort.
IV. Prevention is better than cure
1. After each use: Thoroughly rinse the zipper with fresh water to remove salt and sand.
2. Regular lubrication: Use a specialized zipper wax or silicone oil 1-2 times per year for maintenance.
3. Proper on and off: Avoid excessive pulling on the zipper tab when putting on or taking off the zipper. Ensure the zipper teeth are fully aligned before pulling.
4. When storing: Do not fully tighten the zipper; loosen it slightly to reduce pressure.
Summary:
When encountering zipper problems, calmly try cleaning and lubricating. If the zipper pull is damaged, you can replace it yourself. If the zipper teeth or a large area is damaged, the most economical and safest option is to send it to a professional repair shop. For critical parts (such as dryer zippers) or expensive equipment, never attempt DIY repairs; the cost of professional repair is far lower than the cost of replacing the entire piece of equipment.

Leave A Comment