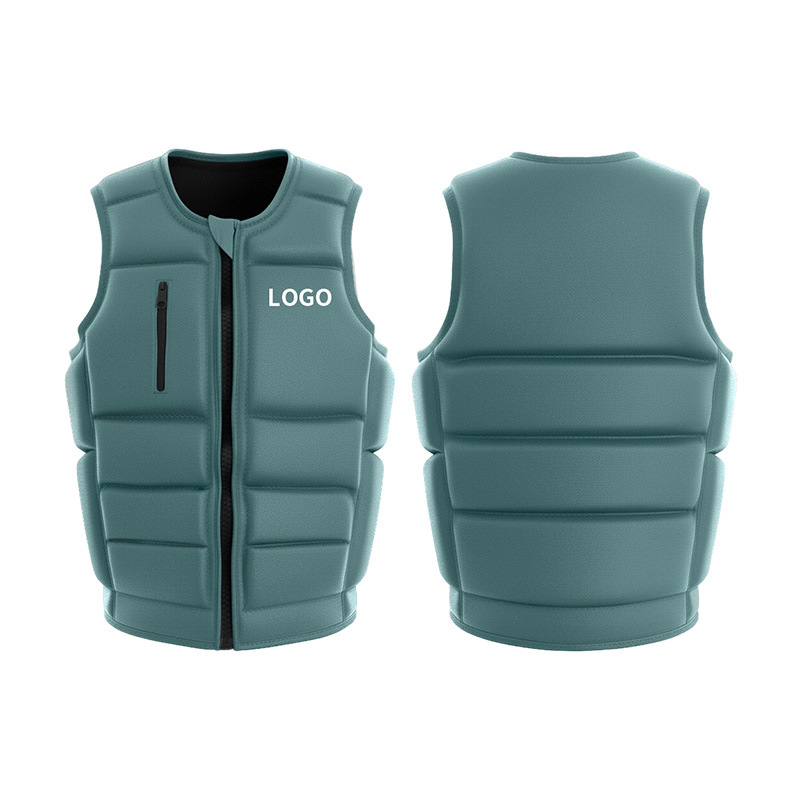
This is a key safety piece of equipment designed specifically for water sports. Its core functions are to provide buoyancy, absorb impact, and protect the torso without hindering movement. Its manufacturing integrates functional fabric engineering, ergonomics, and precise padding technology.
The following is a detailed breakdown of the entire process from concept to finished product:
——
Phase 1: Design and Engineering
This is the cornerstone determining the product’s performance, positioning, and safety.
1. Function and Market Positioning:
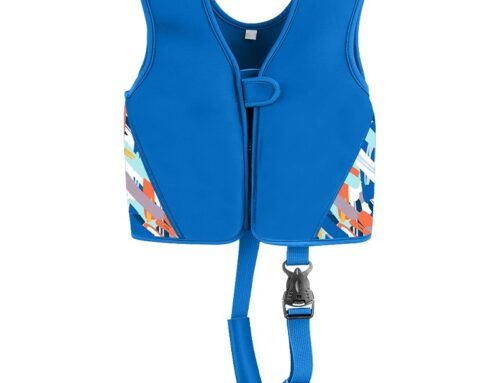
◦ Determine the specific application: Is it for wakeboarding, kitesurfing, waterskiing, stand-up paddleboarding, jet skiing, or a general-purpose application?
◦ Define core requirements: Buoyancy level, impact protection level, flexibility, fit, and quick donning/removal.
2. Ergonomics and Pattern Design:
◦ Dynamic Pattern: Unlike ordinary life vests, the Impact Vest’s pattern must consider maximum freedom of movement. Dynamic testing is required in postures such as arm raises, body twists, and bends to ensure unrestricted movement. ◦ Zone Division: The design is divided into different functional zones:
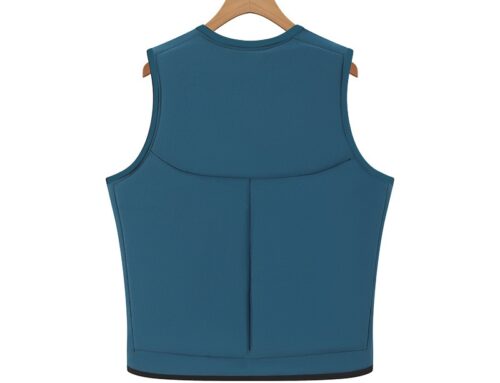
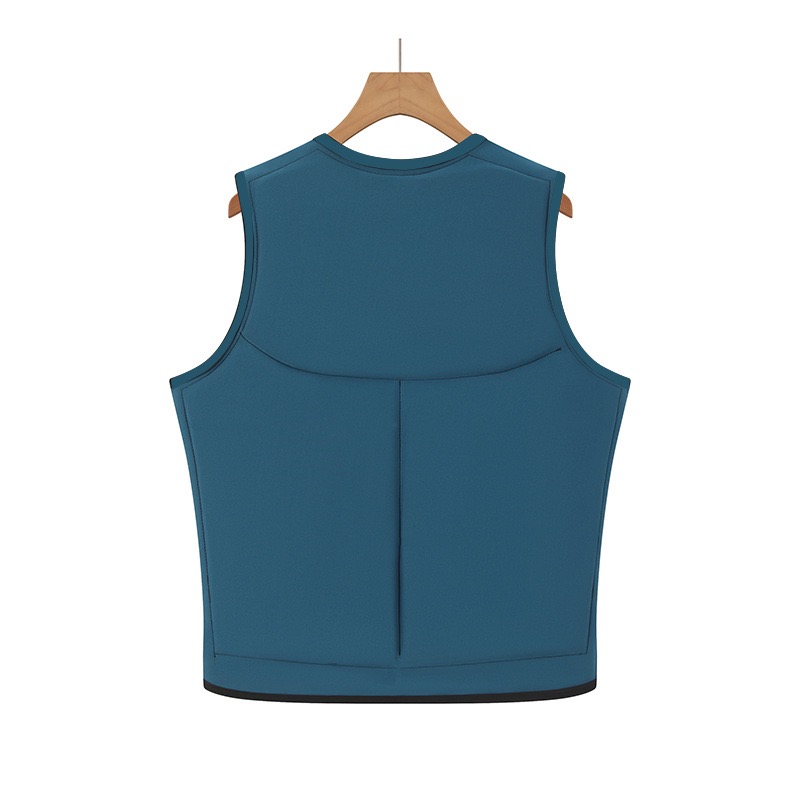
▪ Core Protection Zone: Chest, back, ribs, and kidney area. This is the core area filled with high-density foam to absorb impact force.
▪ Buoyancy Assist Zone: Sides of the torso and shoulders. Filled with low-density foam, primarily providing auxiliary buoyancy and maintaining a streamlined shape.
▪ Mobility Connection Zone: Armpits and sides. Typically uses high-elasticity mesh fabric to ensure flexibility, breathability, and drainage.
3. Material Science Selection:
◦ Outer Shell Fabric: Must be high-strength, abrasion-resistant, UV-resistant, and quick-drying. Commonly used are 420D/600D nylon, polyester, or composite elastic fabrics. Some high-end models use neoprene composite materials to enhance fit.
◦ Foam Filling: This is the core technology. Typically uses multi-density closed-cell polyethylene foam.
▪ High-density foam: Used in the core impact zone, with a density of 60 kg/m³ or higher, acting as a “shield” to disperse and absorb impact energy.
▪ Low-density foam: Used in the buoyancy zone, with a density of approximately 30-50 kg/m³, providing primary buoyancy; it is softer in texture.
◦ Auxiliary systems:
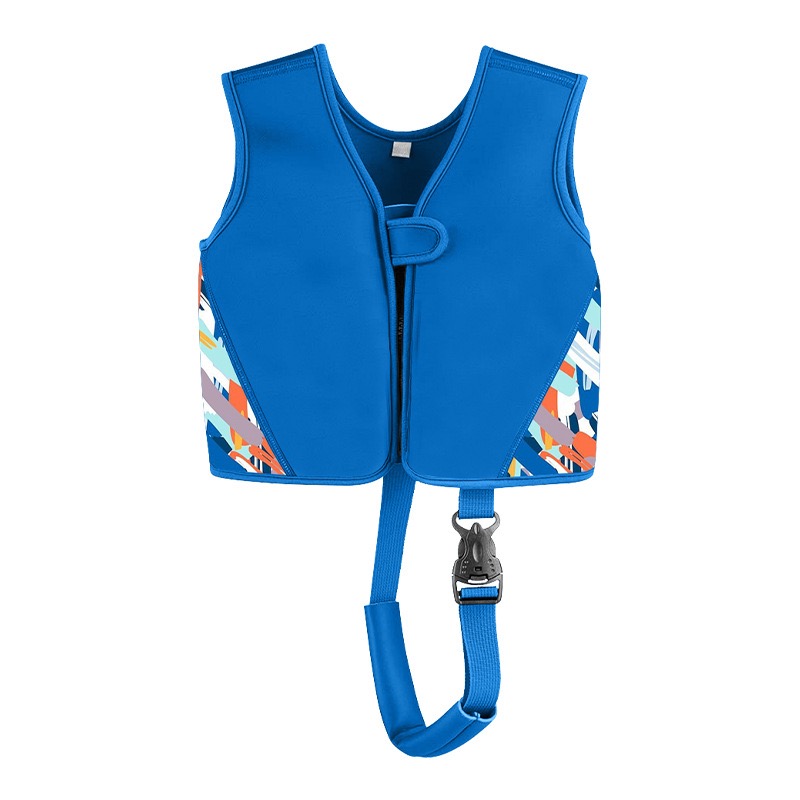
▪ Straps and buckles: Must use corrosion-resistant, high-strength, easy-to-operate quick-release buckles that can be quickly untied with one hand in an emergency.
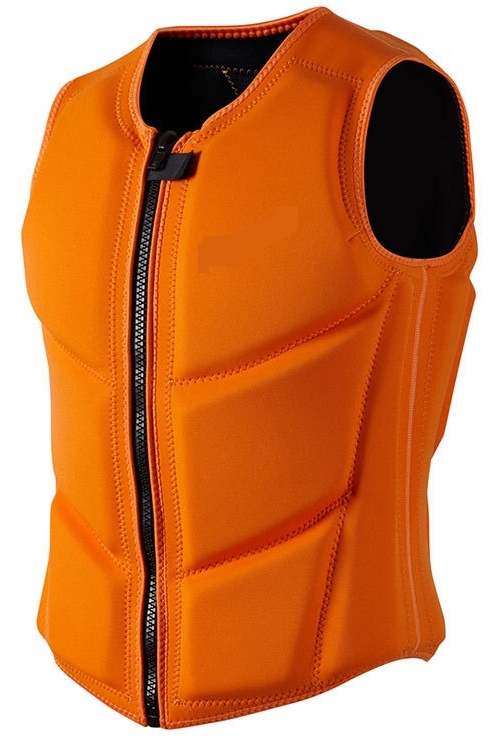
▪ Zippers: Rust-proof, smooth, often equipped with splash guards.
▪ Sewing thread: High-strength polyester thread, UV-resistant and seawater corrosion-resistant.
——
Second Stage: Material Cutting and Preparation
This stage concerns the precise utilization and functional allocation of materials.
1. Precision Cutting of Foam Blocks:
◦ Large pieces of foam boards of varying densities are fed into a CNC hot wire cutter.
◦ Based on the 3D design, the machine uses electrically heated metal wire, like a “hot knife cutting butter,” to precisely cut three-dimensional foam blocks that conform to the curves of the human body. This process can cut complex bevels, ensuring seamless splicing between components.
2. Outer Shell Fabric Cutting:
◦ The outer shell fabric and the inner elastic mesh fabric are automatically laid out by computer and cut on a cutting table using a high-pressure water jet or vibrating knife. Water jet cutting generates no heat, produces clean edges, and does not melt the fabric.
——
Third Stage: Multi-Layer Assembly and Sewing
This is the most crucial assembly stage, transforming flat materials into three-dimensional armor.
1. Foam “Sandwich” Pre-Assembly:
◦ The cut high-density foam blocks and low-density foam blocks are assembled on a flat surface like a jigsaw puzzle, and temporarily fixed with environmentally friendly glue to form a complete “foam core layer” with zones of varying hardness.
2. Outer Shell Sewing and Filling:
◦ Method 1: Overlapping Method (Suitable for most styles):
▪ First, sew the front, back, and side pieces of the outer shell together, leaving an opening at the top or side.
▪ Insert the pre-assembled entire “foam core layer” into the outer shell through the opening.
▪ Adjust the position to ensure the foam block perfectly matches the corresponding area of the outer shell.
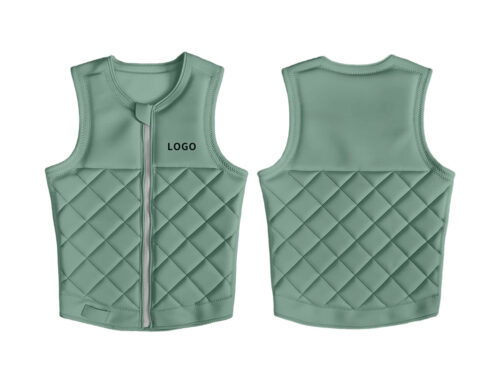
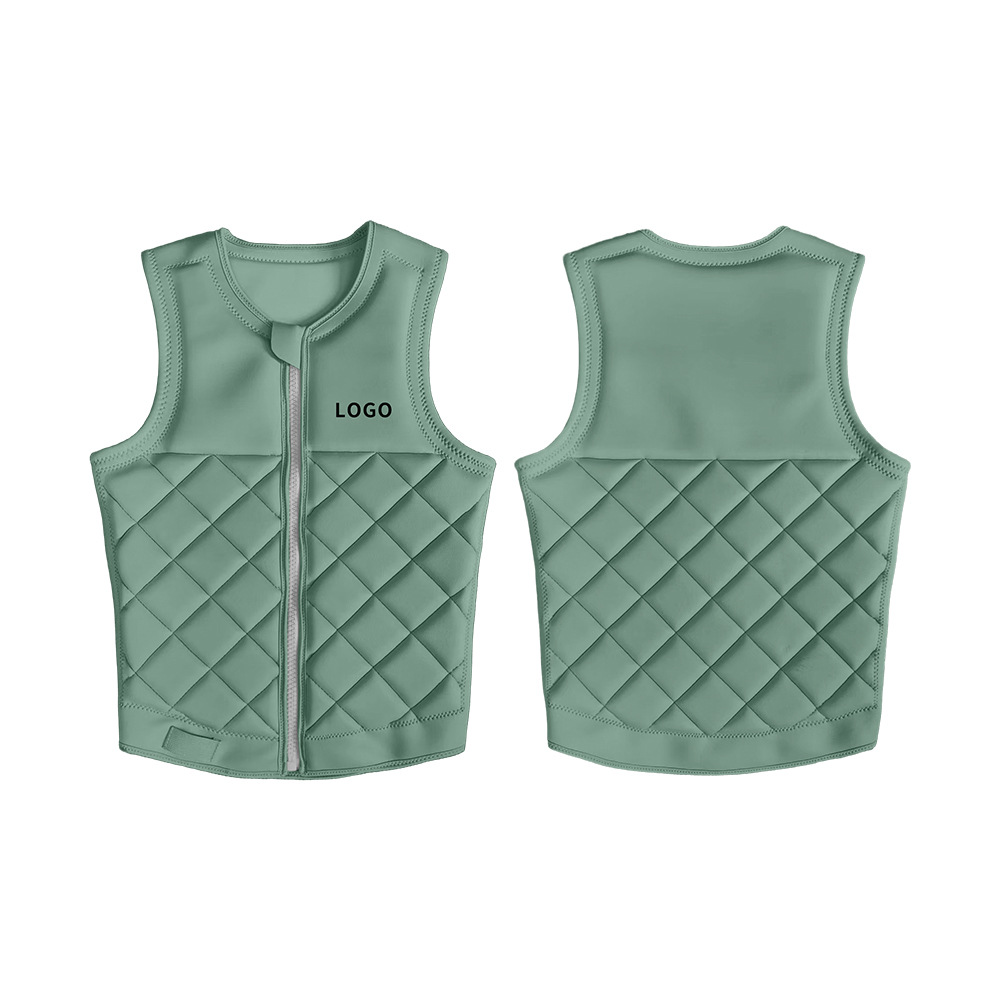
◦ Method 2: Sectional Filling Method (Suitable for high-end, complex styles):
▪ First, sew the outer shell into multiple independent, interconnected “pockets” or “compartments.”
▪ Insert each cut piece of foam individually into its corresponding compartment. This method provides a better fit but is more complex.
3. Reinforcement of Key Areas:
◦ Impact Point Reinforcement: Apply additional heat-pressed or sewn abrasion-resistant, high-toughness reinforcing pieces to the most impact-prone areas, such as the shoulders, center of the chest, and spine.
◦ Edge and Seam Treatment: All seams are overlocked with highly elastic four- or five-thread stitching to ensure they do not tear under stretch. Edges are finished with elastic rib or piping for both aesthetics and durability.
◦ Buckle and Strap System Installation: This is of paramount safety. All straps at stress points (such as the waist and shoulders) are reinforced with multiple folds, rivets, or bar-tack to withstand extreme tensile forces.
——
Fourth Stage: Finishing, Quality Inspection, and Testing
This is the final line of defense to ensure the safety and reliability of every product.
1. Final Finishing:
◦ Trim excess threads and clean the surface.
◦ Install safety whistles, reflective strips, tool bags, and other accessories.
2. Rigorous Quality Inspection for Each Item:
◦ Visual Inspection: Check for straight and secure stitches, skipped stitches; fabric defects; and proper functioning of buckles.
◦ Fit and Functionality Check: Wearing the garment on a standard mannequin, check if the pattern matches the design and if each section fits snugly.
◦ Buoyancy Test: Randomly sample products and test their nominal buoyancy in still water to ensure it meets standards.
3. Laboratory and Field Testing (R&D Stage and Periodic Sampling):
◦ Impact Absorption Test: Drop heavy objects from different heights onto the armor samples and measure the impact attenuation data.
◦ Durability Test: Simulate prolonged sun exposure, salt water immersion, and repeated wearing and stretching to test the aging of the fabric, foam, and seams.
◦ Real-World Testing: Professional athletes conduct extreme tests in actual sports environments to evaluate its protection, flexibility, and comfort.
Core Design Philosophy and Technological Highlights
• Differentiated Protection: Its core feature is non-uniform, multi-density foam filling distributed according to the body’s stress points and vulnerable areas. This achieves intelligent protection that is “firm where it needs to be, and soft where it needs to be.”
• Motion-Priority Structure: Unlike life vests that emphasize static buoyancy, its design prioritizes zero movement interference, achieving a “second skin”-like fit through elastic zones and 3D tailoring.
• Safety Redundancy System: Quick-release buckles are a lifeline, ensuring instant release in any situation to avoid entanglement with ropes or obstacles.
Summary
A professional Impact Vest is far more than simply “a vest stuffed with foam.” It’s a systems engineering project:
Starting with biomechanical analysis, it achieves a balance between protection and flexibility through multi-density material zoning and dynamic tailoring, then is assembled using precise cutting and reinforcement processes, and finally undergoes rigorous testing to ensure user safety. It perfectly embodies how functional equipment integrates materials science, ergonomics, and safety design, becoming an indispensable “close-fitting shield” in high-speed water sports.

Leave A Comment